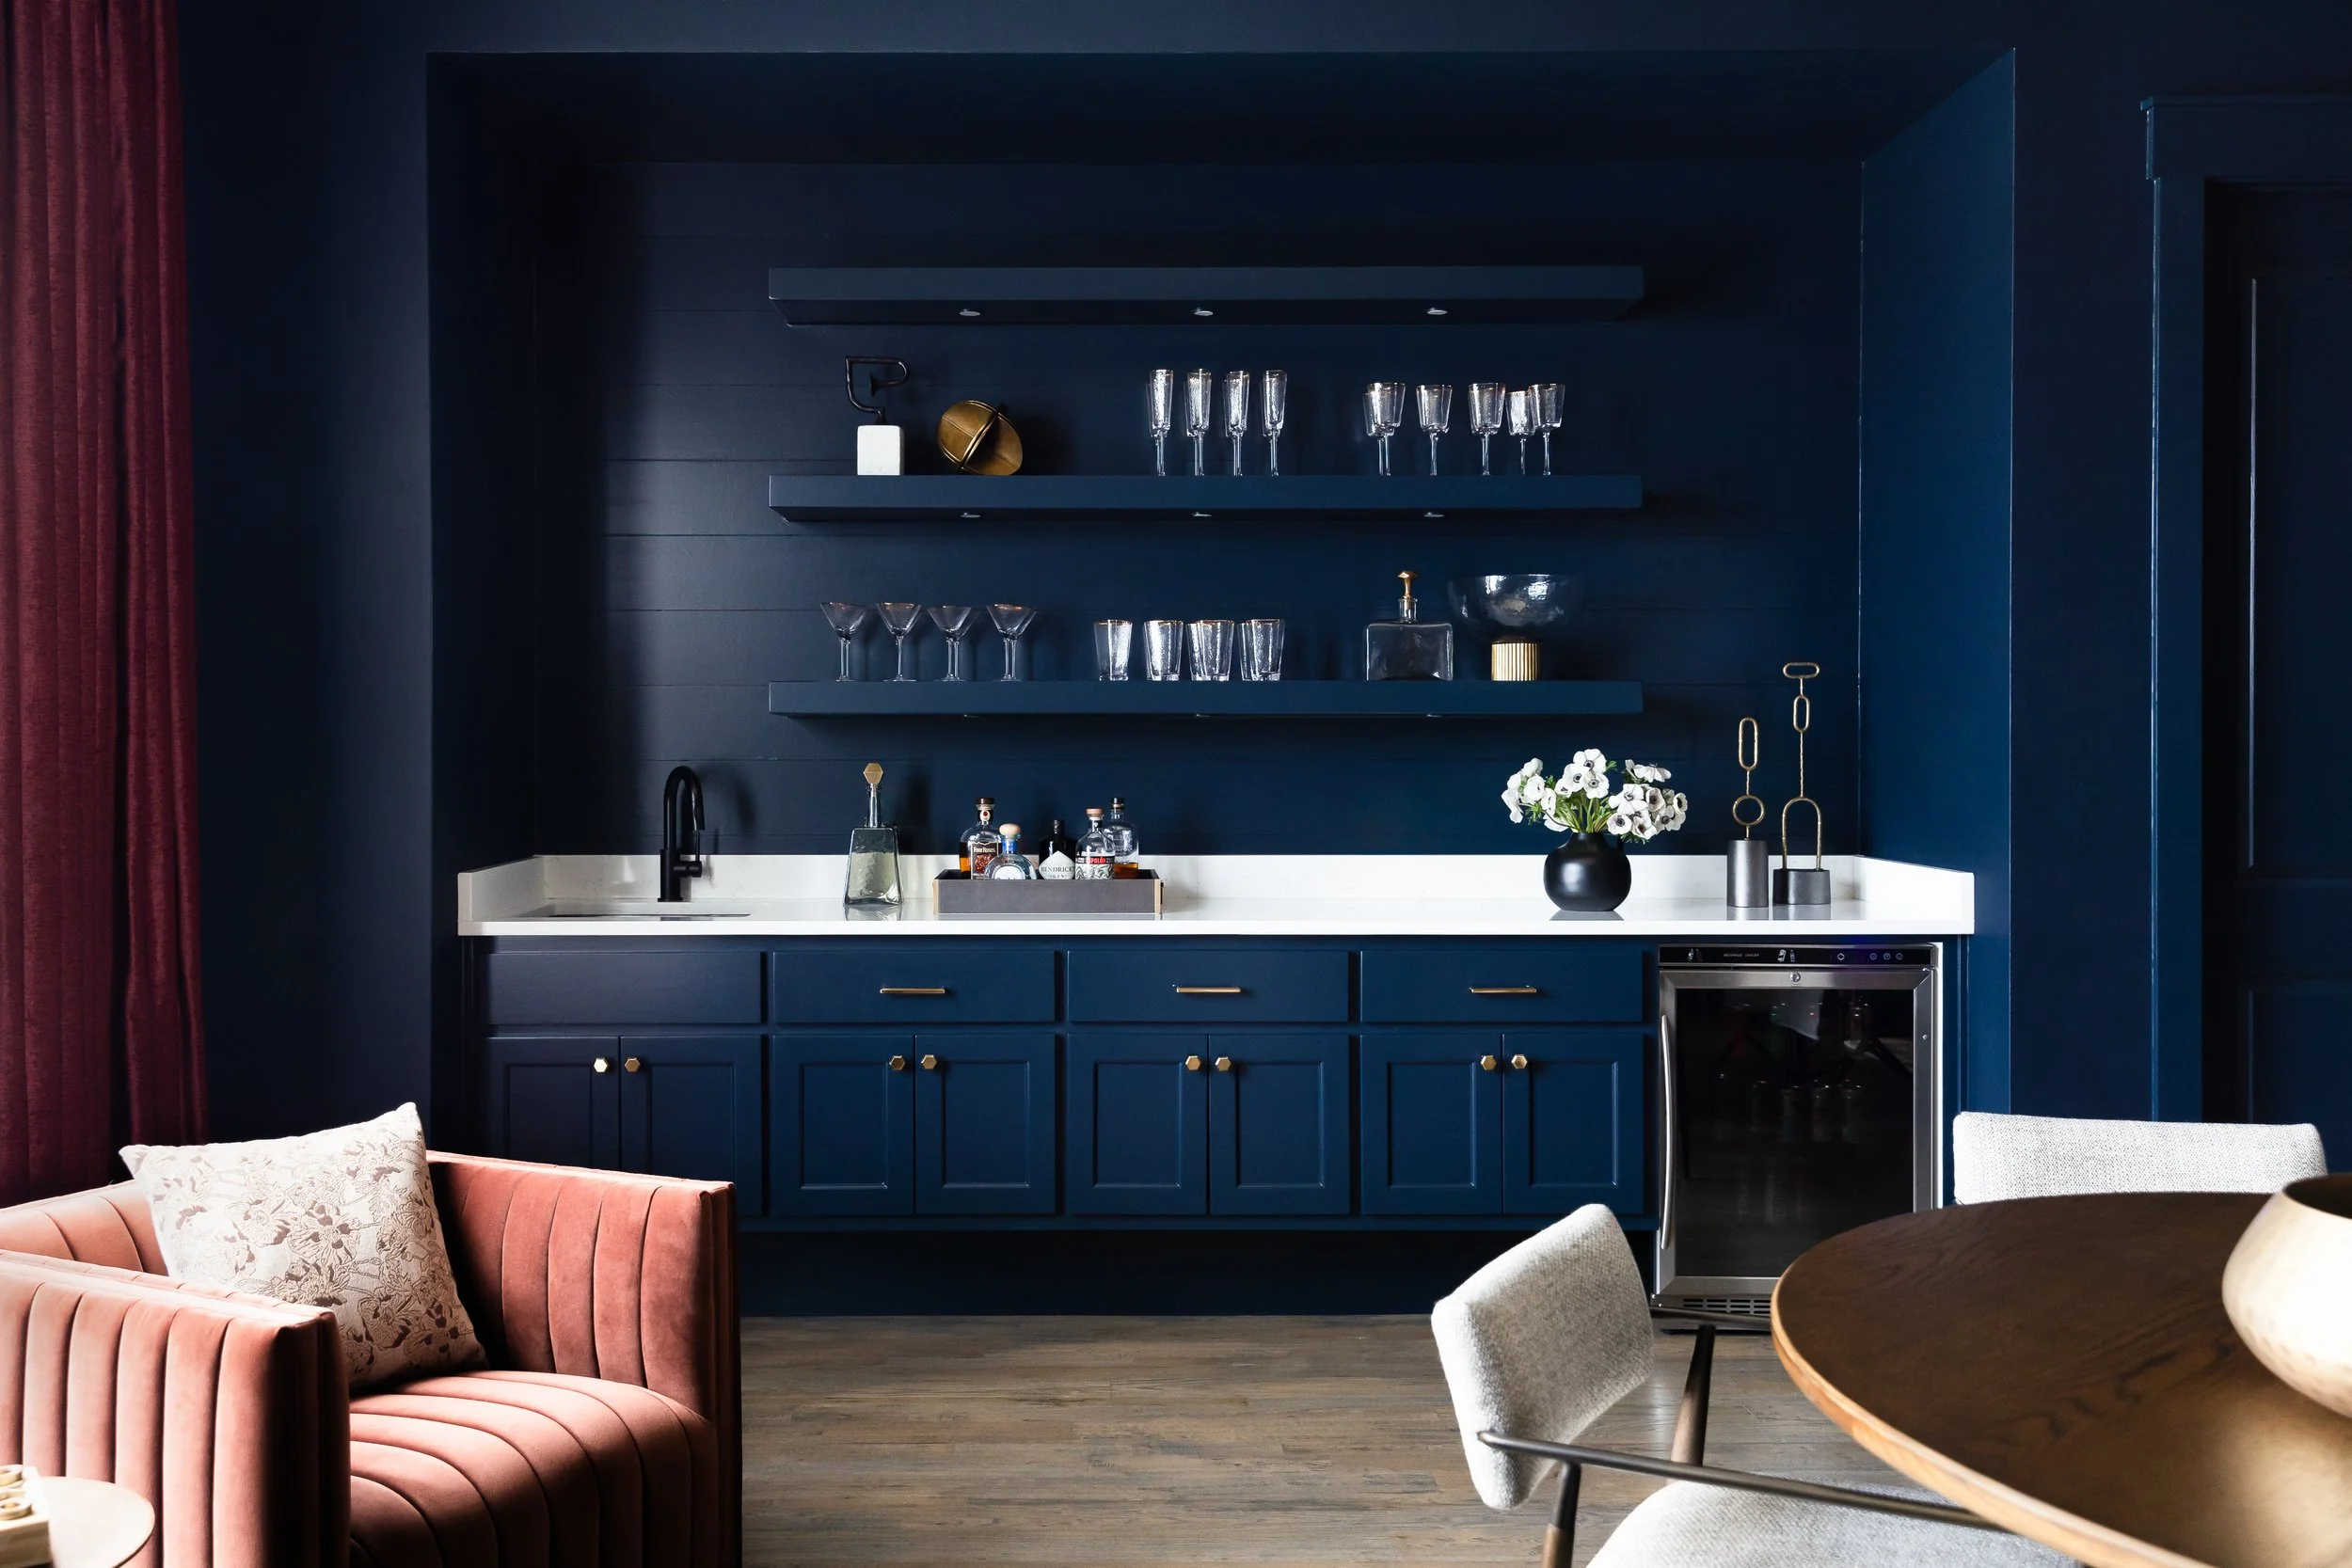
How to Photograph Dark Rooms for a Color-Accurate Finish
You know when it’s 100 degrees outside (hello, current Texas weather) you prefer to wear white? That’s because white bounces light, so it’s a cooler option than black. Which is why you don’t wear black—it absorbs light, making the already hot Texas temps feel like the pit of hell.
Why Photographing Dark Rooms is Challenging
The same concept is true for paint colors: the lighter the bounce-ier; the darker the more absorbent.
So when you’re photographing a dark room like the example above, the light doesn’t bounce off one wall to the next. The light hits the wall, and it stops.
This creates a couple obstacles but one in particular I just haaaate, hate, hate: hazy, desaturated colors in room corners. Not ALL corners but specifically the ones on the same wall as the window with your light source.
We are efficient photographers, so we take the time to get this issue correct at the moment of capture, not on the back end in editing. And I can say confidently by way of experience that you cannot fully edit out these hazy corners.
So let’s fix them in camera.
How to Handle Hazy Corners in Camera
The short and short? You have to throw light into the de-saturated, hazy corner to illuminate what the window light will not. It doesn’t matter how high you increase the exposure in a dark painted room. You you will not be able to get rid of that haze. In fact, as you increase that exposure, it makes the dingy, nasty haze even worse.
Here’s what that looks like:
This frame is the middle of the road exposure in natural light with basic exposure/contrast edits:
Are the curtains purple? Red? Are they linen? Can you even tell there are curtains in this room?! This design decision made by your client is completely hidden and distracting from an otherwise great photo. How disappointing for them to receive this image.
If there were windows to the right of the frame, that would be great. The path of least resistance. I could use them for a single frame to light up that corner and brush in the exposure in Photoshop.
But guess what—there were no other windows in this room. Thank God for the strobe! I lit up that corner of the room by shooting the strobe through a silk to create soft light on those curtains. (Remember—I can’t bounce the light off the wall or ceiling, because there’s no way for the light to bounce off the dark paint.)
Here’s what that strobed frame looked like, unedited:
This frame as a whole looks like junk, but we only need that left corner portion to blend in the drapes that are now accurately lit and colored.
And here’s the final product after that blending, plus a bit more editing:
Don’t you think my client is much happier with this version? I can now see the maroon, velvet curtains she so thoughtfully chose for this space. And all it took was a few extra minutes to set up my strobe and get it right in camera.
More Shooting and Editing Tips for Photographing Dark Rooms
Consider these three techniques to achieve the look and feel similar to the dark bar above:
Filter your window light through a silk to neutralize color casts, which in my option are more apparent in dark rooms than in white rooms. See my blog post about creating color-accurate photos in interior photography.
Narrow the source of your light dramatically, even down to one window. This will create deep, closed shadows that reinforce the moody vibes inherent to dark painted rooms. But be on the lookout for those hazy corners!
Because your light source is narrow from the above technique creating dark shadows, reincfore the contrast and drama by increasing your exposure in editing quite a bit and decreasing those shadows even more.
Hi there! I’m Sarah, and I shoot interior design photography in Dallas, Texas. My photography helps designers build stunning portfolios and land more idea clients.
Wanna work together?


